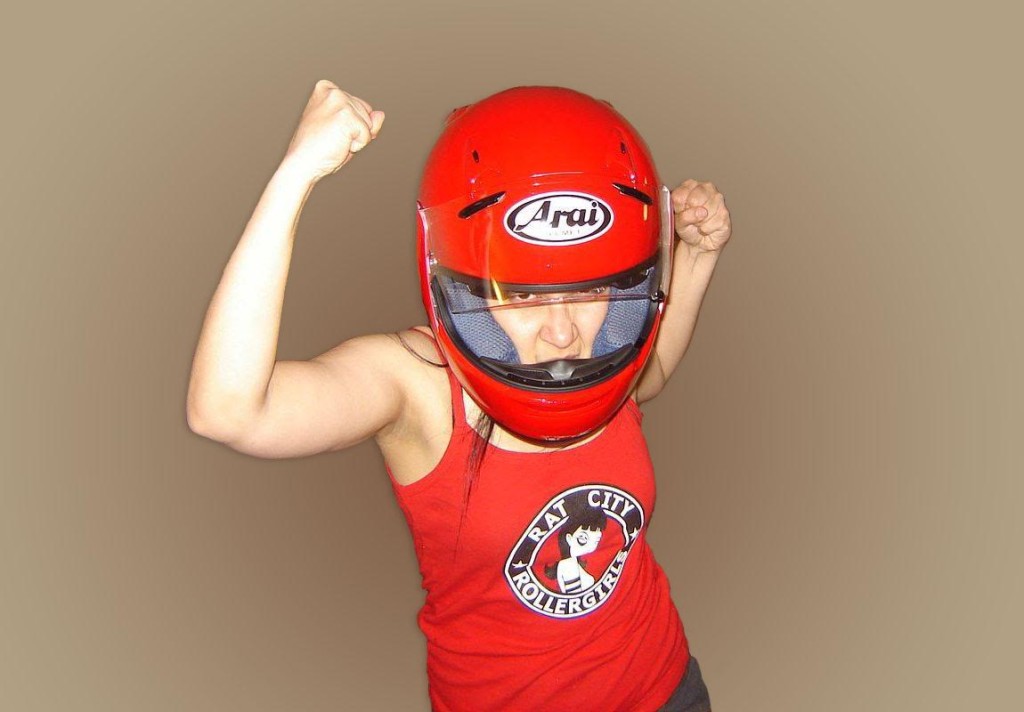
Does your motorcycle helmet fit you well?
Planning to buy a new helmet? There’s nothing worse than dropping hundreds of dollars on a lid that ends up not quite fitting you right. An ill-fitting helmet can be at best uncomfortable and noisy, and at worst dangerous and inadequate to protect your head in a crash.
Do some prep work at home, then print off the cheat sheet below and take it with you when you go to try on helmets at your favorite local brick-and-mortar store! (Or if you already have a lid, run the checks below to figure out if it is indeed the right fit for you.)
BEFORE YOU GO SHOPPING
Motorcycle helmet fit depends on the size of your head around the crown, and the shape (round vs. intermediate oval vs. elongated oval). While the size can be measured easily, the shape can be figured out only after trying on a few different helmets from various brands. Think about fit and comfort first, and color, style and price last.
To start with, measure your head at home if possible. This will save you some time in the store so that you can try on just the right size in all the available brands. Take a tape measure and wrap it around the crown of your head about an inch above your eyebrows. Helmet measurements are usually taken in centimeters. The following chart is a rough guide to figure out your size.
| XXS | 51-52 cm |
| XS | 53-54 cm |
| S | 55-56 cm |
| M | 57-58 cm |
| L | 59-60 cm |
| XL | 61-62 cm |
| XXL | 63-64 cm |
| XXXL | 65-66 cm |
Go into the store well-rested, with a couple of hours to spare. It this is your first time getting fitted for a helmet or if you want to try out a different brand and model than you’re used to, it could take this long to find a good fit. Purchasing a helmet is not something you should do when you’re tired, hungry, in a hurry, or if the store is about to close soon.
HELMET FIT CHECKLIST
Any respectable store should have assistants who will patiently assist you in finding you the best fit. However, I have occasionally had experiences where this was not true. To prevent this from happening, bring this cheat sheet with you. Even if you have assistance, it’s a good idea to keep some of these steps in mind. Try the helmet on in front of a mirror and run through the following steps for every likely candidate:
– Pull apart the chin straps and put on the helmet. If it goes on too easily, it’s probably too loose and could come off easily in a crash as well. Look for a helmet that provides a little resistance in putting it on. Of course, if it is way too difficult to put on, it is too small
– Once the helmet is on, your eyes should be right in the middle of the opening. If they are in the bottom third, the helmet is sitting too high.
– Check that you feel good firm cheek pressure, uniform pressure throughout the crown of the helmet, and no tight spots anywhere.
– Try to slide one finger between the helmet and your forehead at the center. It should not fit or if it does, it should be extremely snug. Now move your finger towards one temple and then towards the other. The distance between the helmet and your forehead should remain the same throughout. If you can jam your fingers all the way inside, it is too loose. This means that when you’re riding, your helmet is going to move around a lot, leading to noise and buffeting.
– Hold your head steady and push on the helmet from side to side (left ear to right ear). It shouldn’t move too much and the padding should not leave your cheek. The skin on your face and forehead should move as you move the helmet.
– Hold your head steady and push on the helmet from front to back (chin to neck). Again, it should not move around too much and the padding should not leave your cheek.
– Insert one finger between the helmet and your chin. There should be at least one finger-width of space. If there is very little space, there is a risk that the helmet will smash your teeth in a crash.
– Keep your head steady and twist the helmet sideways. If there is too much lateral movement, it is too loose.
– Do up the chin strap as tightly as possible leaving no slack. It should not choke your neck.
– Keep your head steady and pull the helmet down by the chin bar. If it covers your eyes, it is too loose.
– Hold the back of the helmet at the back of your neck and try to pull it off. It should not move too much.
– The cheek pads should feel very snug (although these can be swapped out with different sizes, if everything else fits well). If you open and close your mouth, you should bite down on your cheeks slightly. The cheek pads usually show a number on the back. The smaller the number, the thinner the pad. The right size cheek pads should be ordered if the stock ones do not fit well.
– Wear the helmet for 10-15 minutes. If any tight spots develop, it might be too tight.
– Take off the helmet and check to see if you have any red spots on your face. If you do, it is too tight.
You might have to go through a few helmets before you finally find two or three that fit you best. In fact, once you’ve found one model that fits you well, the sales assistant will be able to find you models in different brands that fit your unique head shape, whether you are a round oval, intermediate oval etc. Now you can base your decision based on color, style and pricing. And you’re done!
Note that the helmet will probably feel very tight in the beginning but it will break in after around 25 hours of riding. Happy riding!
(This guide is only for full-face helmets with a chin bar.)


Thanks for good article
Most important parts is planning for which one helmet fillup your needs or fit for you?
http://motorbikelab.com/
This is a nice post and guide for choosing the best motorcycle helmet. But make sure in choosing one must be approved by DOT or SNELL. http://bikegearup.com/